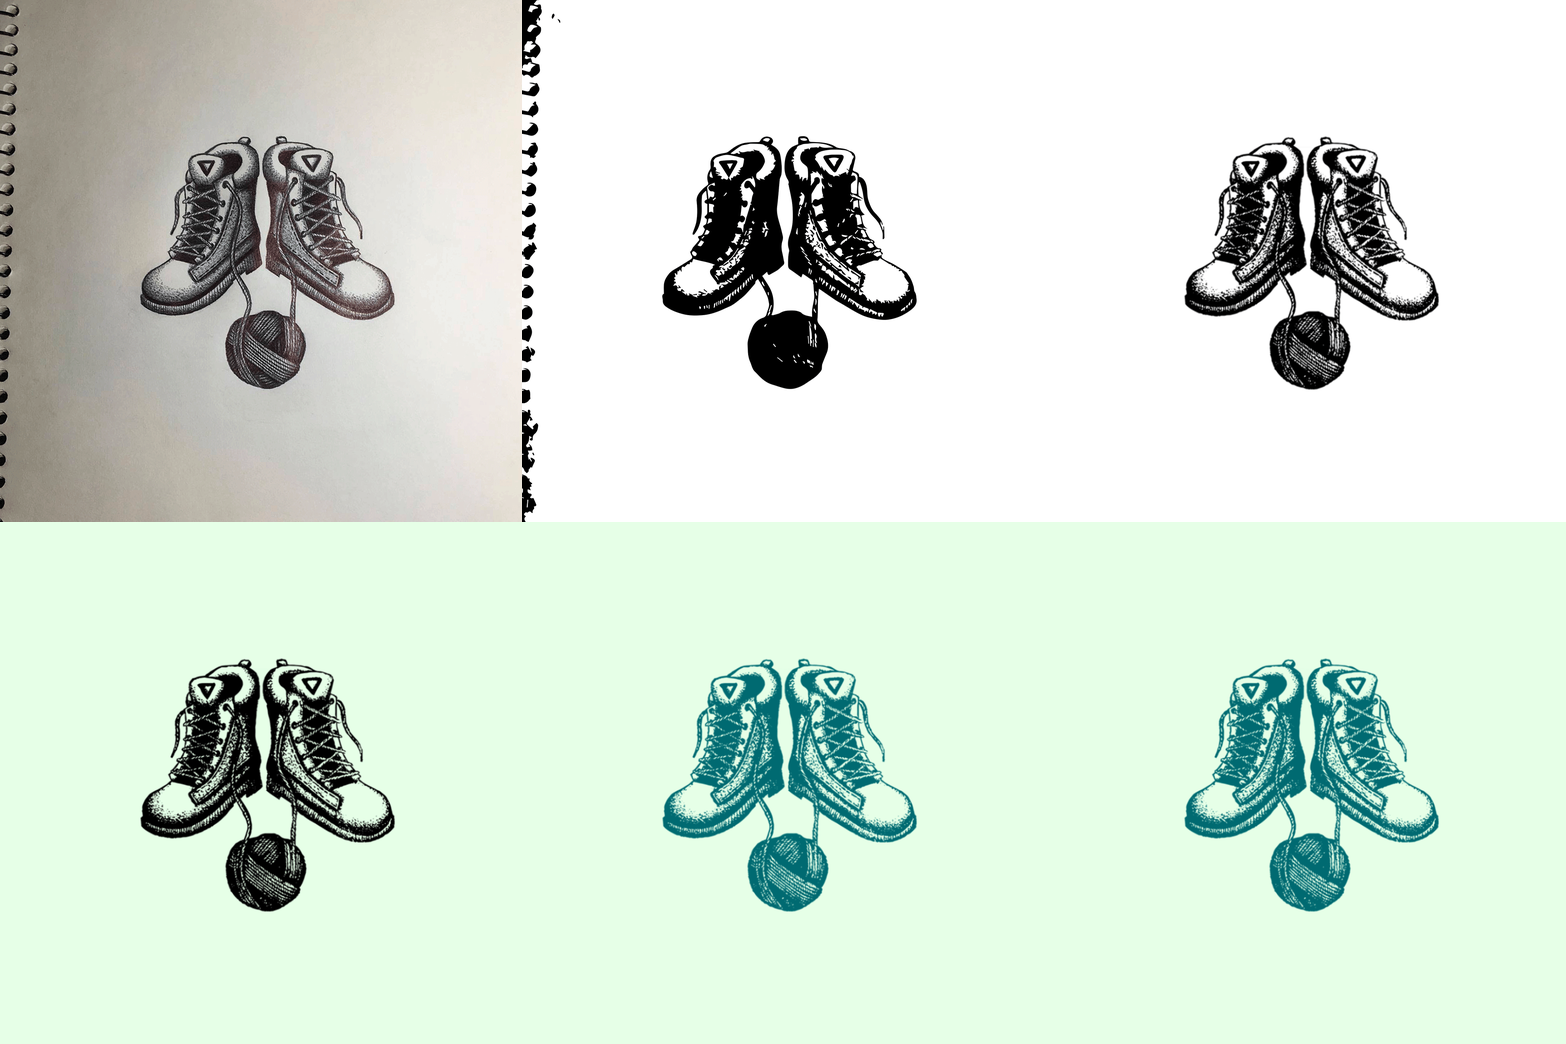
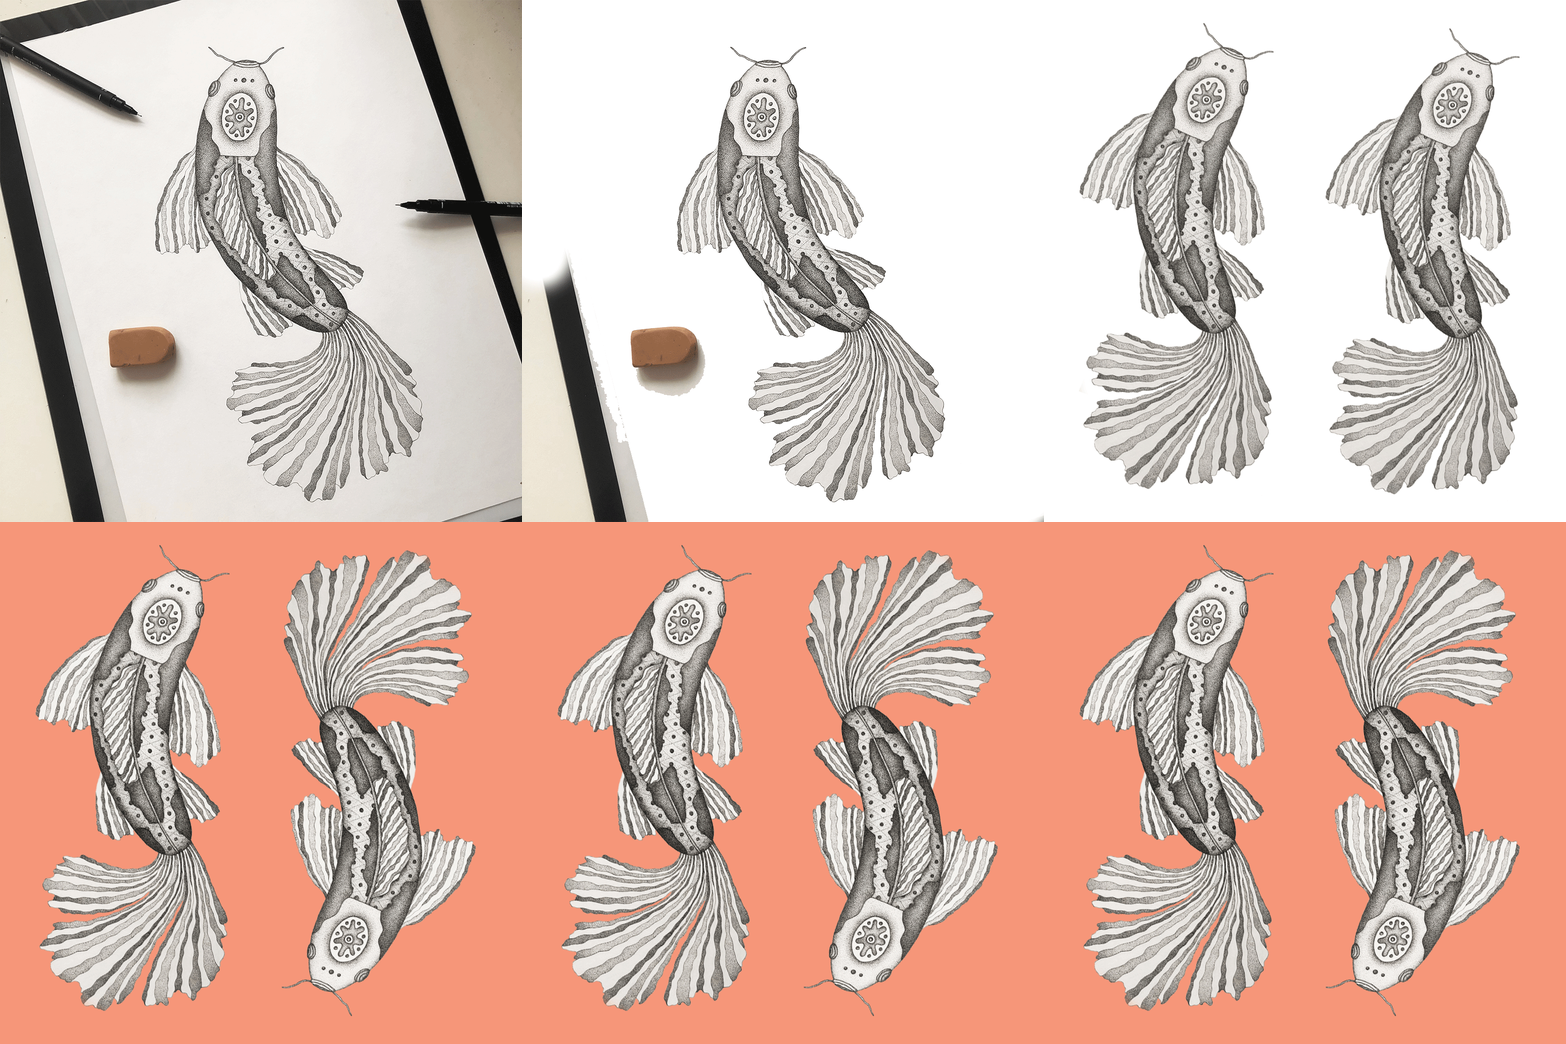
Many artists spend a significant period of time learning not only how to draw, but practicing drawing well. So what happens when you’ve put in the time to do this, come up with a cool hand-drawn concept, and are happy with the finished product? Time to digitise!
Whether you want to make money as an artist or simply share a photo on Instagram, digitising your art can be a great way to look more professional and make your work stand out. Here are 4 methods which are sure to help you in your artistic endeavours.
1. Adobe Capture
Adobe Capture is a mobile/tablet app which directly links up to desktop Adobe programs like Illustrator and Photoshop. It allows you to take a photo of a drawing with your device, then adjust the settings and turn it into a vectorised digital artwork. Vectorising your work is useful for small drawings if you want to scale them up for something like a large-scale print, and make it retain it’s quality. It can sometimes be a challenge to get your paper drawing to look the same once it is vectorised. If you just want to post an image to social media, then vectorising your work quite isn’t as necessary – it really all depends on your artistic style!
One you’re happy with how your work looks in Adobe Capture, you can save it to your Creative Cloud library so it syncs with your desktop Adobe programs. Once it’s on your computer you can edit colours and shapes, add text, turn it into prints – the list goes on!

2. Image Trace on Adobe Illustrator
The image trace tool on the Adobe Illustrator program works in a similar way to Adobe Capture, and is another method you can use to vectorise your artwork.
Begin by taking a high-quality photo of your drawing, or otherwise scan it into your computer. I would recommend editing the image so that the tool can more easily identify parts of your drawing, as well as distinguish it from the background (I often increase the brightness and up the contrast).
After this, open up the image in Illustrator. Navigate to Window > Image Trace to bring up the advanced toolbar. Make sure your photo is selected, then click ‘Trace’. Select ‘Preview’ to see what different settings look like as you adjust them. Your image will automatically turn black and white once it’s traced, however you can change the settings to incorporate colour as well. I usually have to play around with the threshold and advanced setting sliders until I find something that works.
Once you are happy, press ‘expand’ on the top toolbar to turn your image into lots of little paths and anchor points you can edit!

3. Procreate for iPad
As a graphic designer who loves illustration, the Procreate app on iPad has absolutely revolutionised the way I work. Paired with an Apple Pencil, this app allows you to draw directly onto the screen using different brushes, textures and colours. It works in layers just like the Adobe programs, so you can do things like placing an image and creating a layer over the top to draw over.
I personally find Procreate to be an amazing tool for digitising my drawings. While it’s a big investment to buy an iPad, Apple pencil, and the app itself which costs $14.99, I use it enough both for fun and at work to justify it. The app includes features such as a symmetry tool (which is the most visually pleasing thing to use ever), along with a library of different brushes where you can also import extra ones if you want to buy more.
Once you have drawn up your work in Procreate, there are a few different ways you might like to export it. If you want to continue working with your illustration on your computer, you can export it as a PNG with a transparent background. If you have a Mac you can airdrop it straight to your computer, otherwise email it to yourself!
If you want to use the artwork as it is, you can export it as a JPG and upload it to the socials right away. I sometimes use a combination of drawing in Procreate, then image tracing it on Adobe Illustrator if I need it vectorised to use how I please!

4. Remove the background from a photograph
For certain drawings that don’t need much further adjustment, you can take a high-quality photo and simply remove the background on Photoshop. This can be great for some styles of art such as dot-work, where vectorising it probably won’t pick up all of the intricate details.
You can either use the ‘Magic Eraser’ tool if the background is plain and easy to remove, or create a mask. A quick way to select at least most of the illustration is to navigate to Select > Subject and add a layer mask to the image. You can then use the brush tool to add or subtract parts of the image in this layer.
This method is perfect for small-scale social posts if you want to add a touch of text, a coloured background, or even make a collage with other drawings! Just be wary that your image won’t be vectorised so it will lose its quality if you try and scale it to be larger than its actual size.

There are many different ways you can digitise your work, and no right or wrong way to do so. Have fun experimenting with some different methods that are available to you, and which work best for your personal artistic style/medium!
Looking for more graphic design tips? Subscribe to our blog below!


