A mood board is a necessity for the beginning of every branding project. Enjoy our best tips for creating one!
Mood boards help to create a clear visual direction that a new brand identity may be guided by. Designers usually create mood boards at the beginning of branding projects as a means of getting inspiration, as well as having a clear style to follow. Mood boards are lots of fun to make and everyone will create them differently, however there are a few universal steps to follow as best practice.
1. Begin hunting for inspo
We recommend Pinterest for design inspiration, which is full of creative ideas! Search and explore any relevant key terms to find what kind of direction might work for your mood board. You may want to consider the brand and what type of design collateral they will need in the future, so you can find specific examples to include. Recommended images will start showing up for you as you continue to search also - thank you Pinterest algorithm!
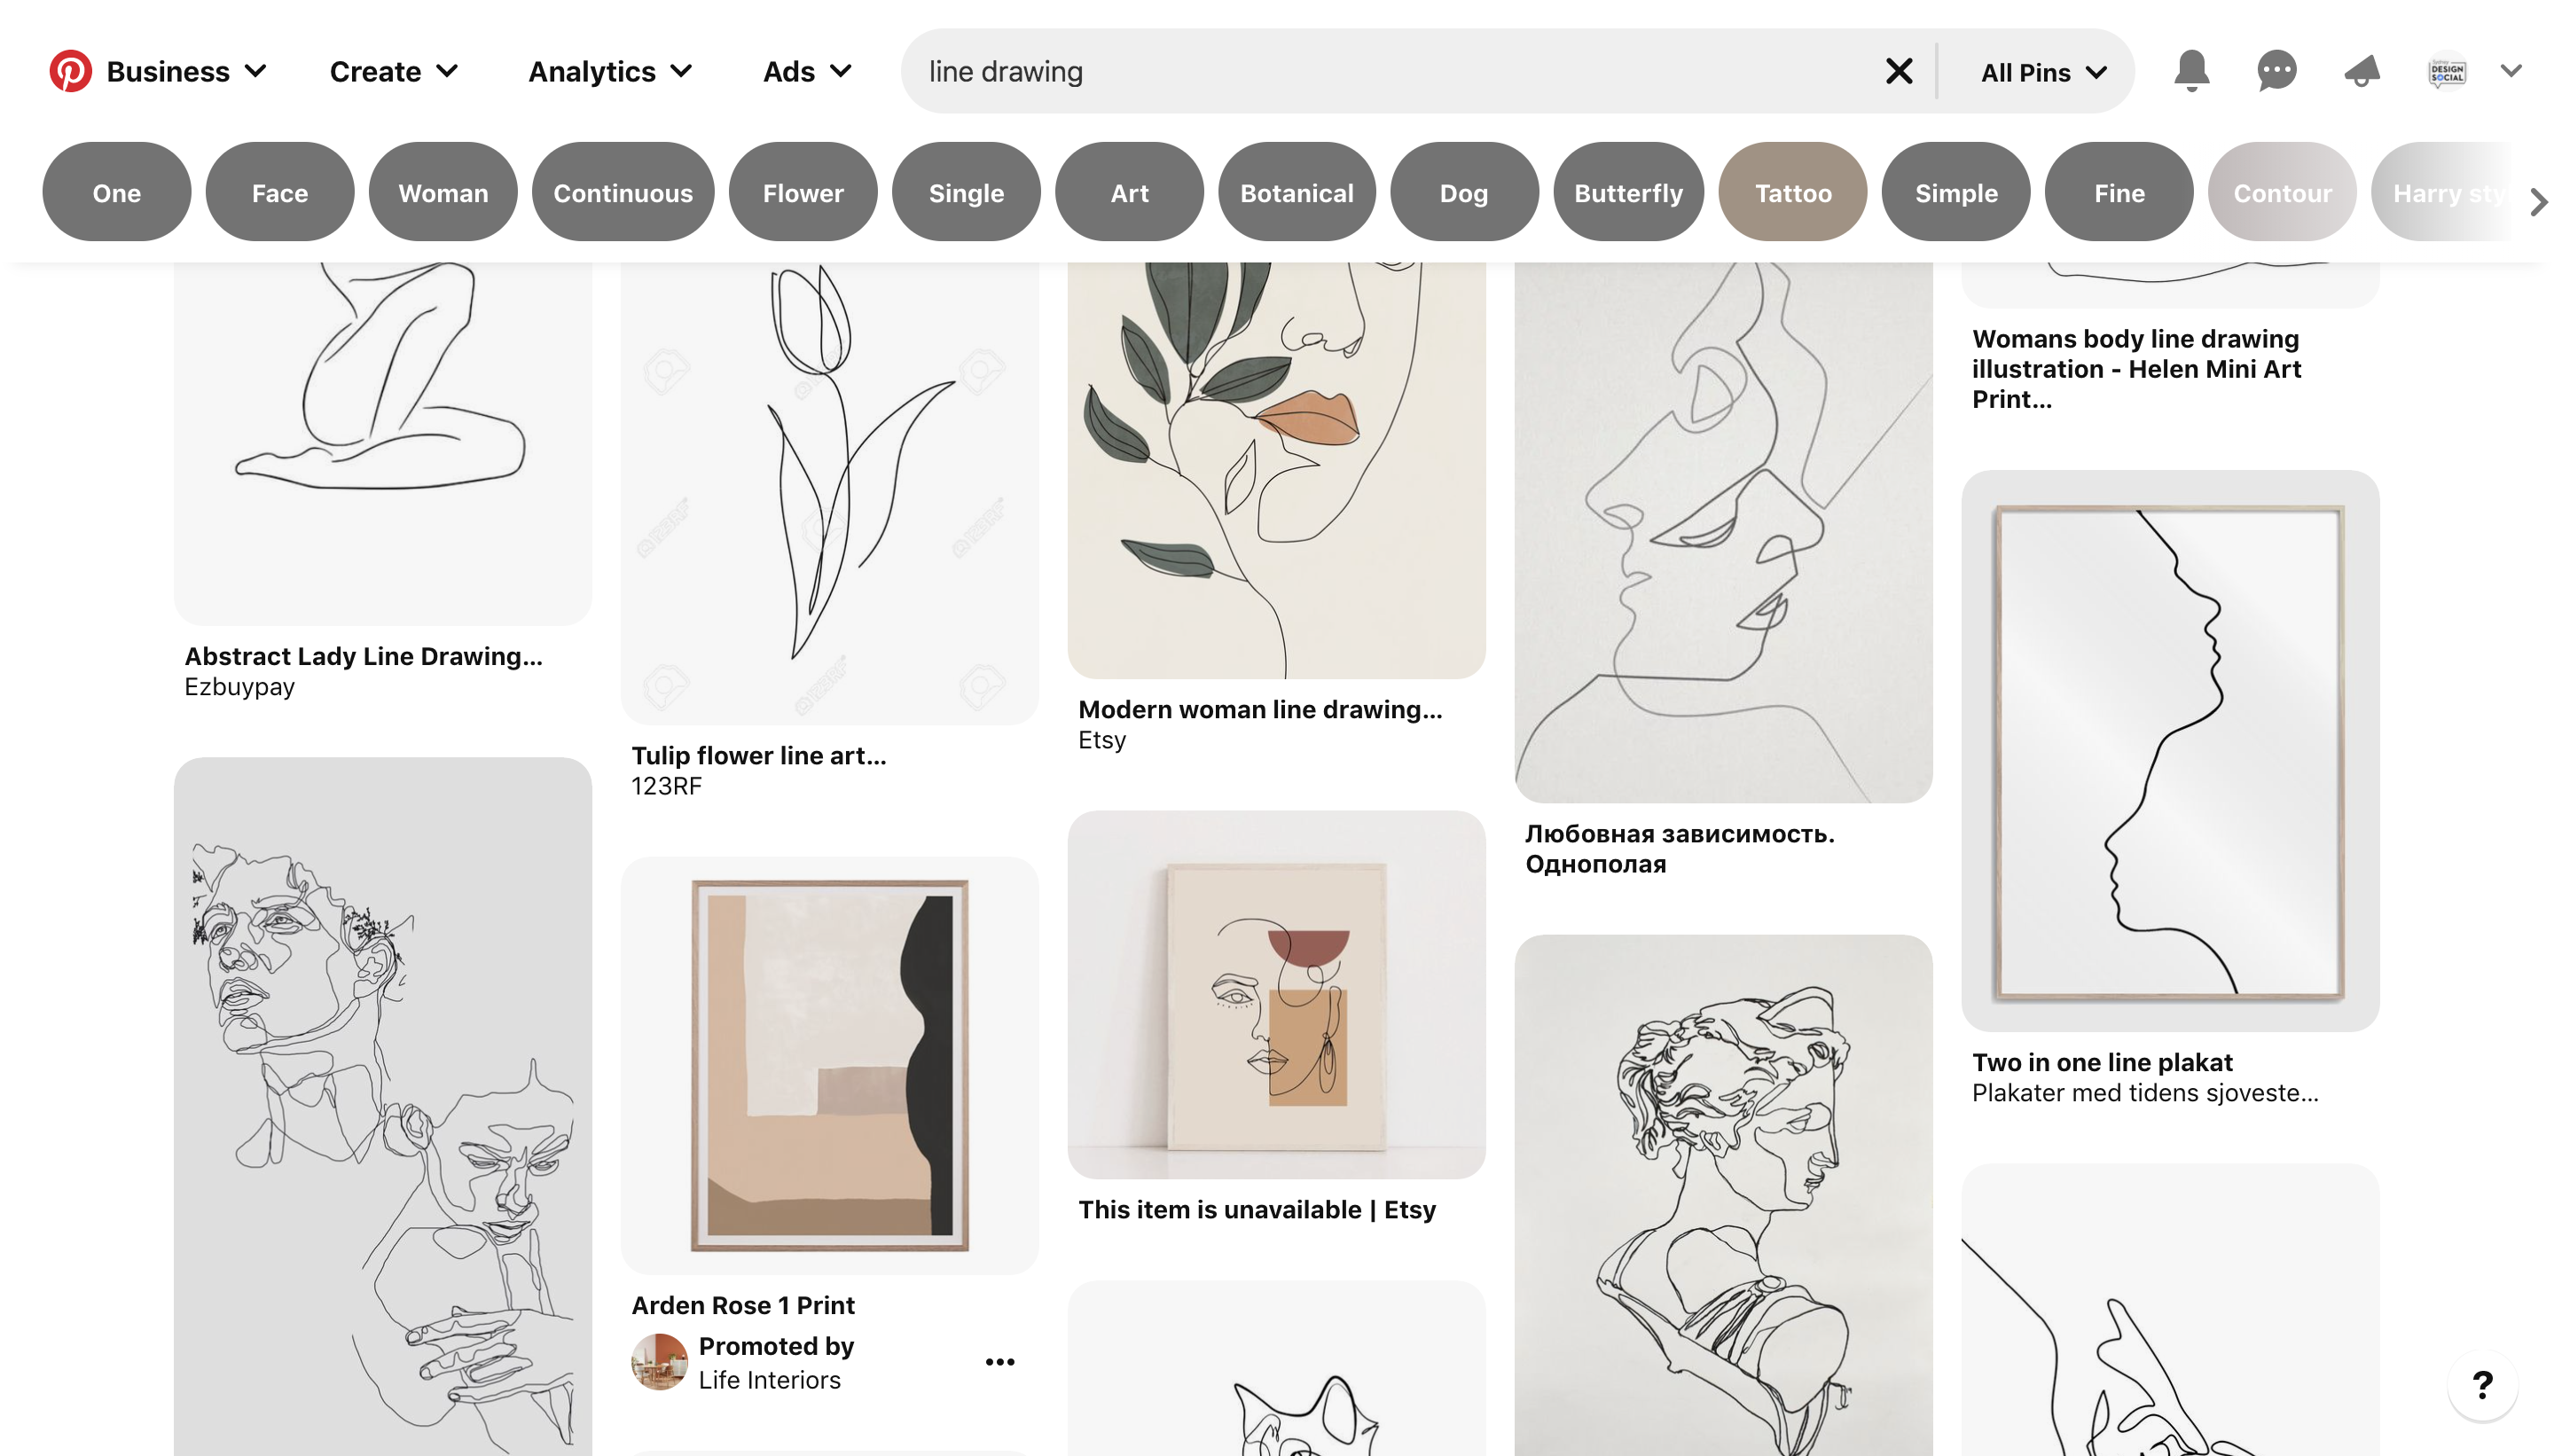
Click on images in Pinterest and more similar examples will show up
Follow SDS on Pinterest!
2. Save images to a Pinterest board
When you begin to get an idea of what your mood board might look like, start saving any potential images you could use to a Pinterest board. These images don't have to be final - you'll just be able to see what they look like all together and refine the aesthetic from there!
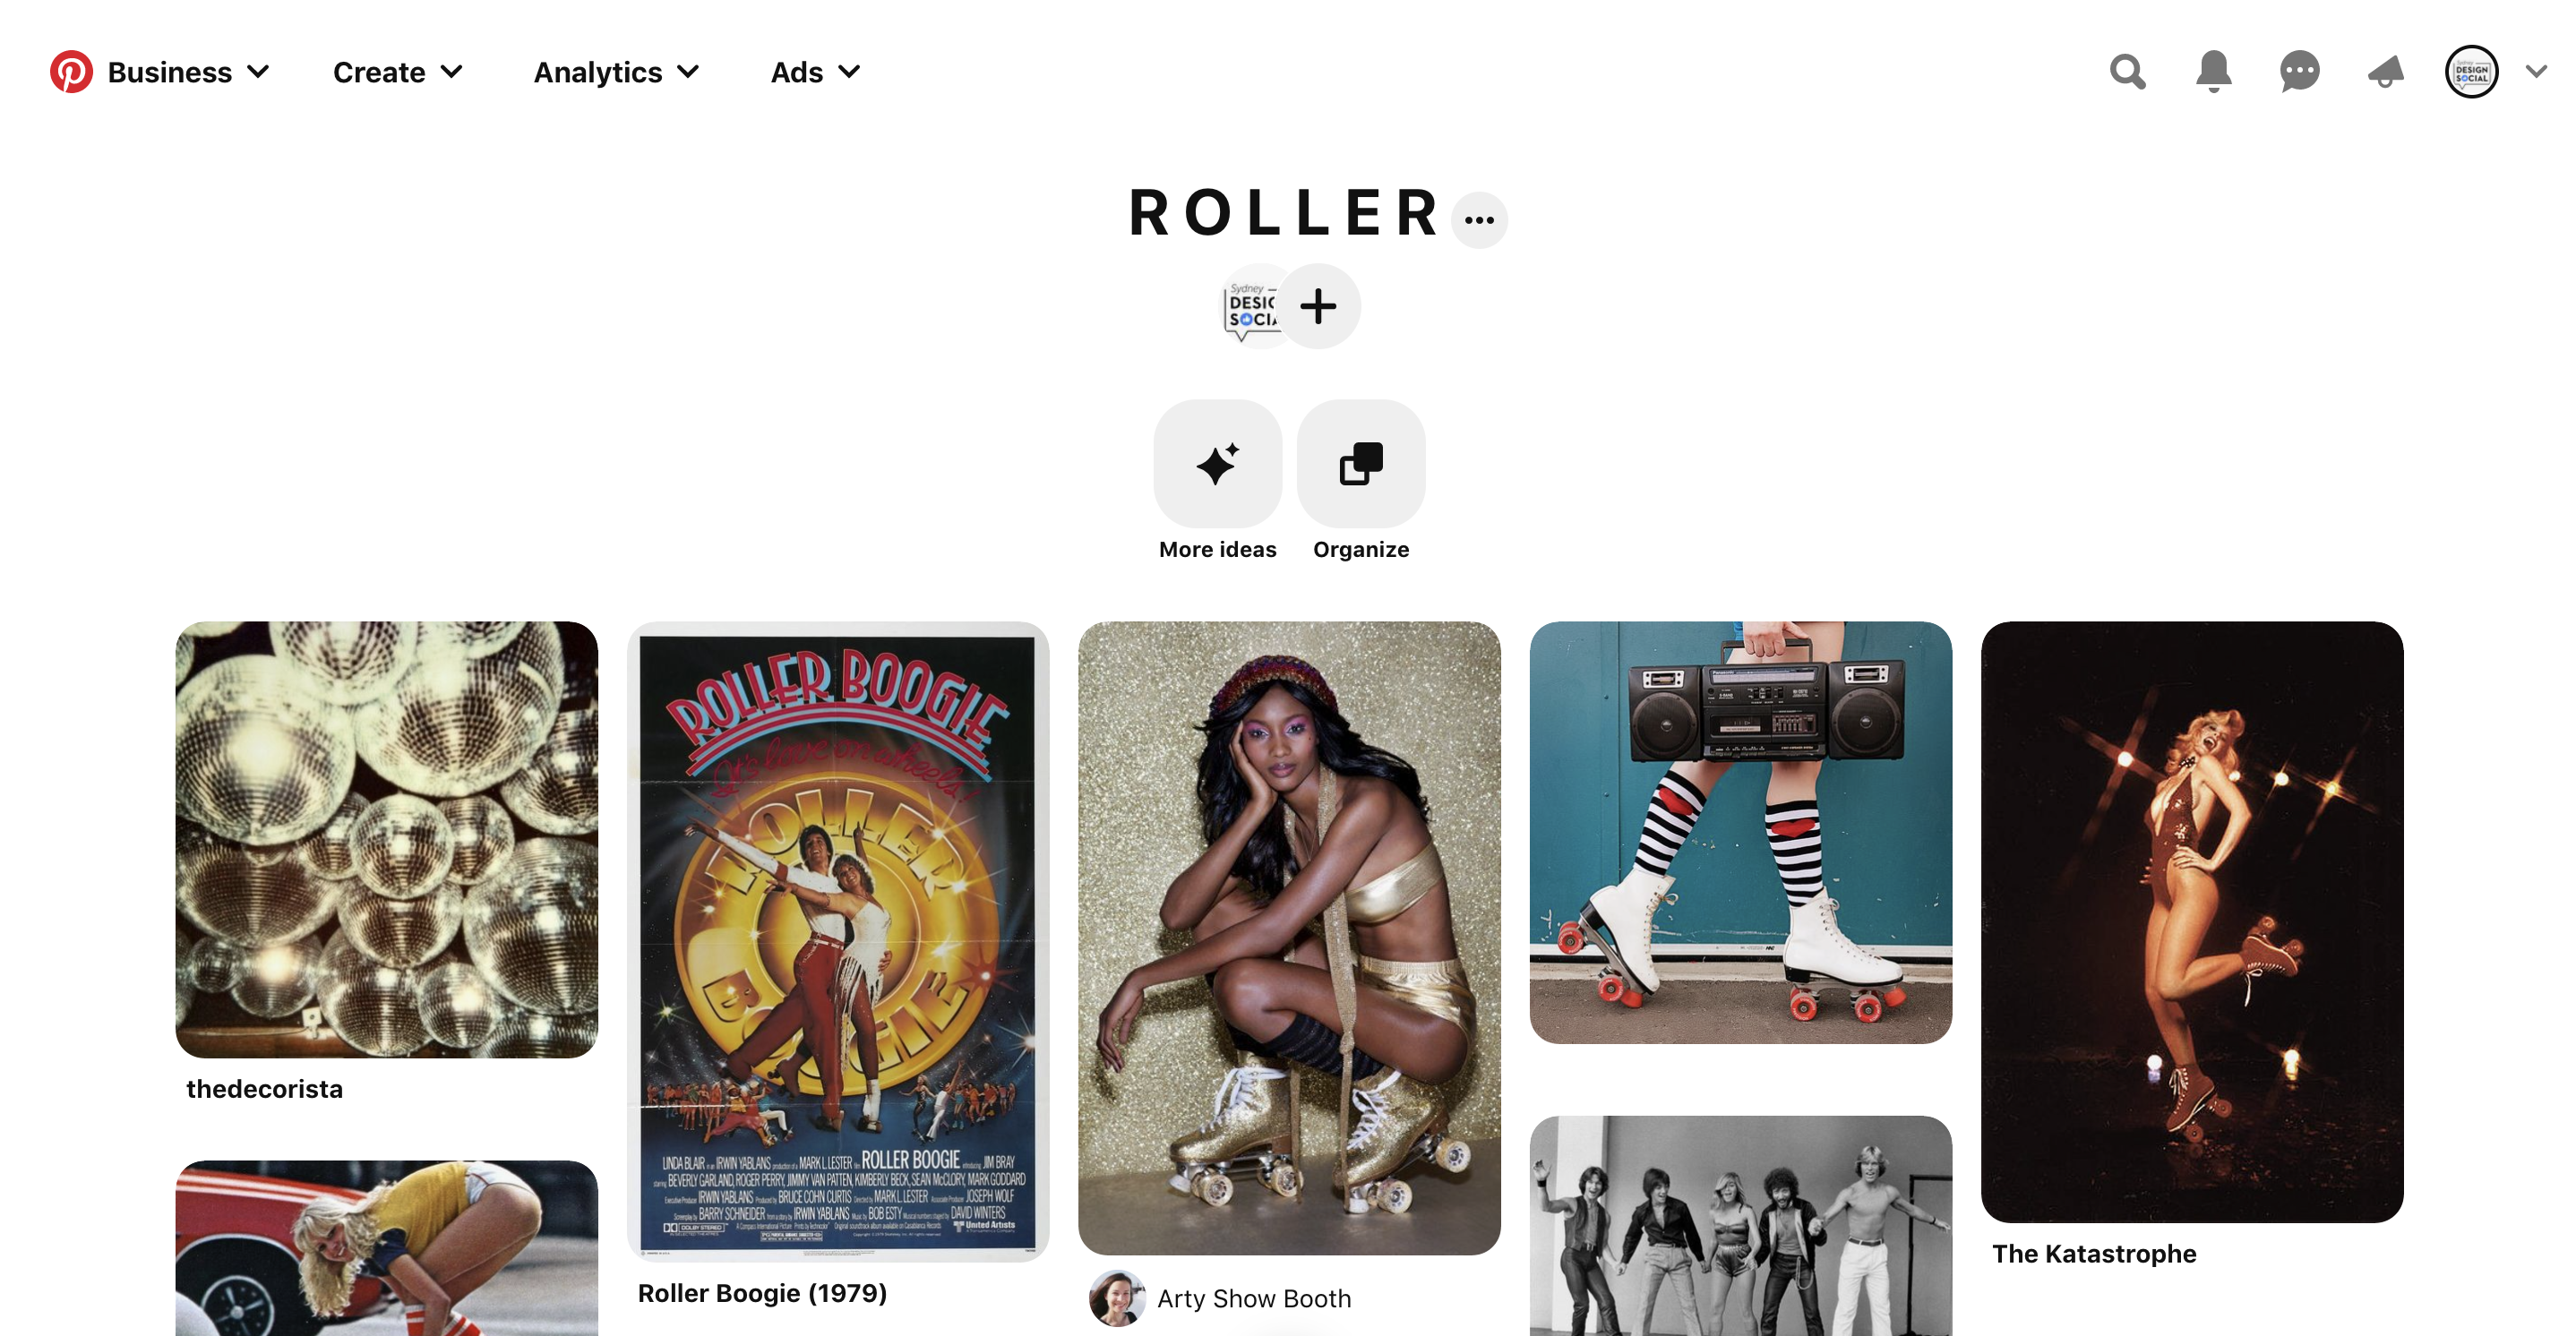
Create and name a Pinterest board so you can begin to see what everything will look like together
3. Download a selection of images
When you have enough images saved for your mood board, download the strongest examples that will work best for your project. The number of images may vary depending on the project, however we would normally aim for about 10 to begin with. Colour is what will really make your mood board look cohesive, so ensure the images compliment each other!
This mood board features primarily soft peach and cream tones so that everything compliments each other
4. Arrange your mood board
With these images saved, you can begin laying them out on your page. You may want to roughly place each of your images to begin with, then move them around to find balance. Continue to add/remove images according to what works best for your mood board.
Get the images you want to use onto one page and arrange their placement
5. Add design elements
Consider adding design elements to make your mood board more visually engaging and unique. Collage-style effects such as overlapping images and using pins or tape graphics can work well. Adding a few colour swatches, patterns or textures can really help tie everything together also!
Once you have your images laid out, add some additional design elements
Mood boards are unique to every project and person. Use our tips and have fun with it, and you can't go wrong!
Looking for more design tips?