Static images and text make up a majority of content on social media sites like Facebook and Instagram. It probably won't come as a surprise to you that moving content will stand out to your audience and get you noticed!
According to Social Media Today, a whopping 90% of consumers claim a video will help them make a purchasing decision. It's no wonder that 87% of marketers use video content in their marketing strategies, and to stay competitive it's beneficial to look into moving content for your business.
One of the reasons that business owners may shy away from video content is that it's more time-consuming, and takes a little more skill to create. That's where our easy guide comes in handy and you'll be well on your way to creating moving content like a pro.
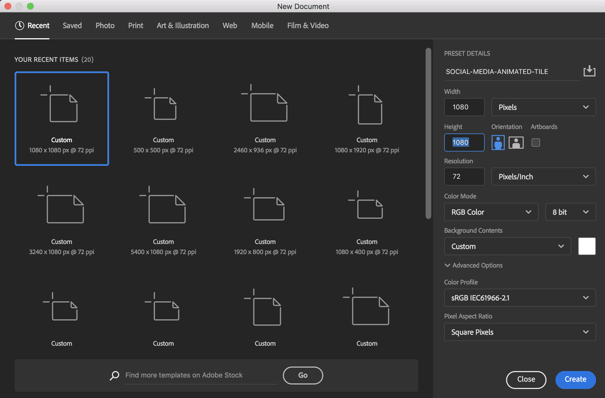
1. Set up a Photoshop document
The easiest way to create a simple animation is in Photoshop. You'll want to start by getting your document canvas set up to the size you want your animation to be. For a standard square tile to post on social media, we recommend 1080 x 1080 pixels.
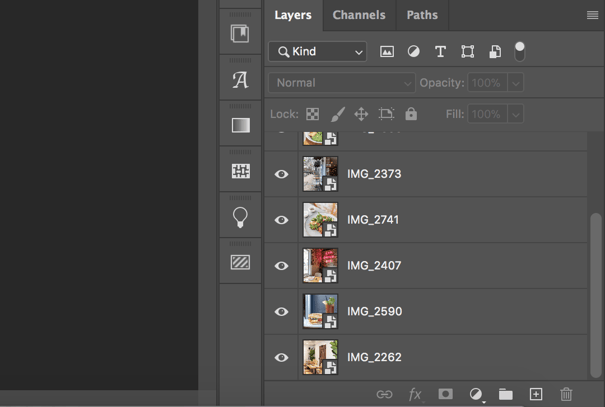
2. Import your images as layers
Import the images you want to include in your animation as individual layers. There are other ways of animating particular elements of a design, however this blog covers the easiest method - using images.
You may want to export different jpgs from a design you're working on, changing each image slightly according to how you want each frame to look, or just use a selection of photographs.
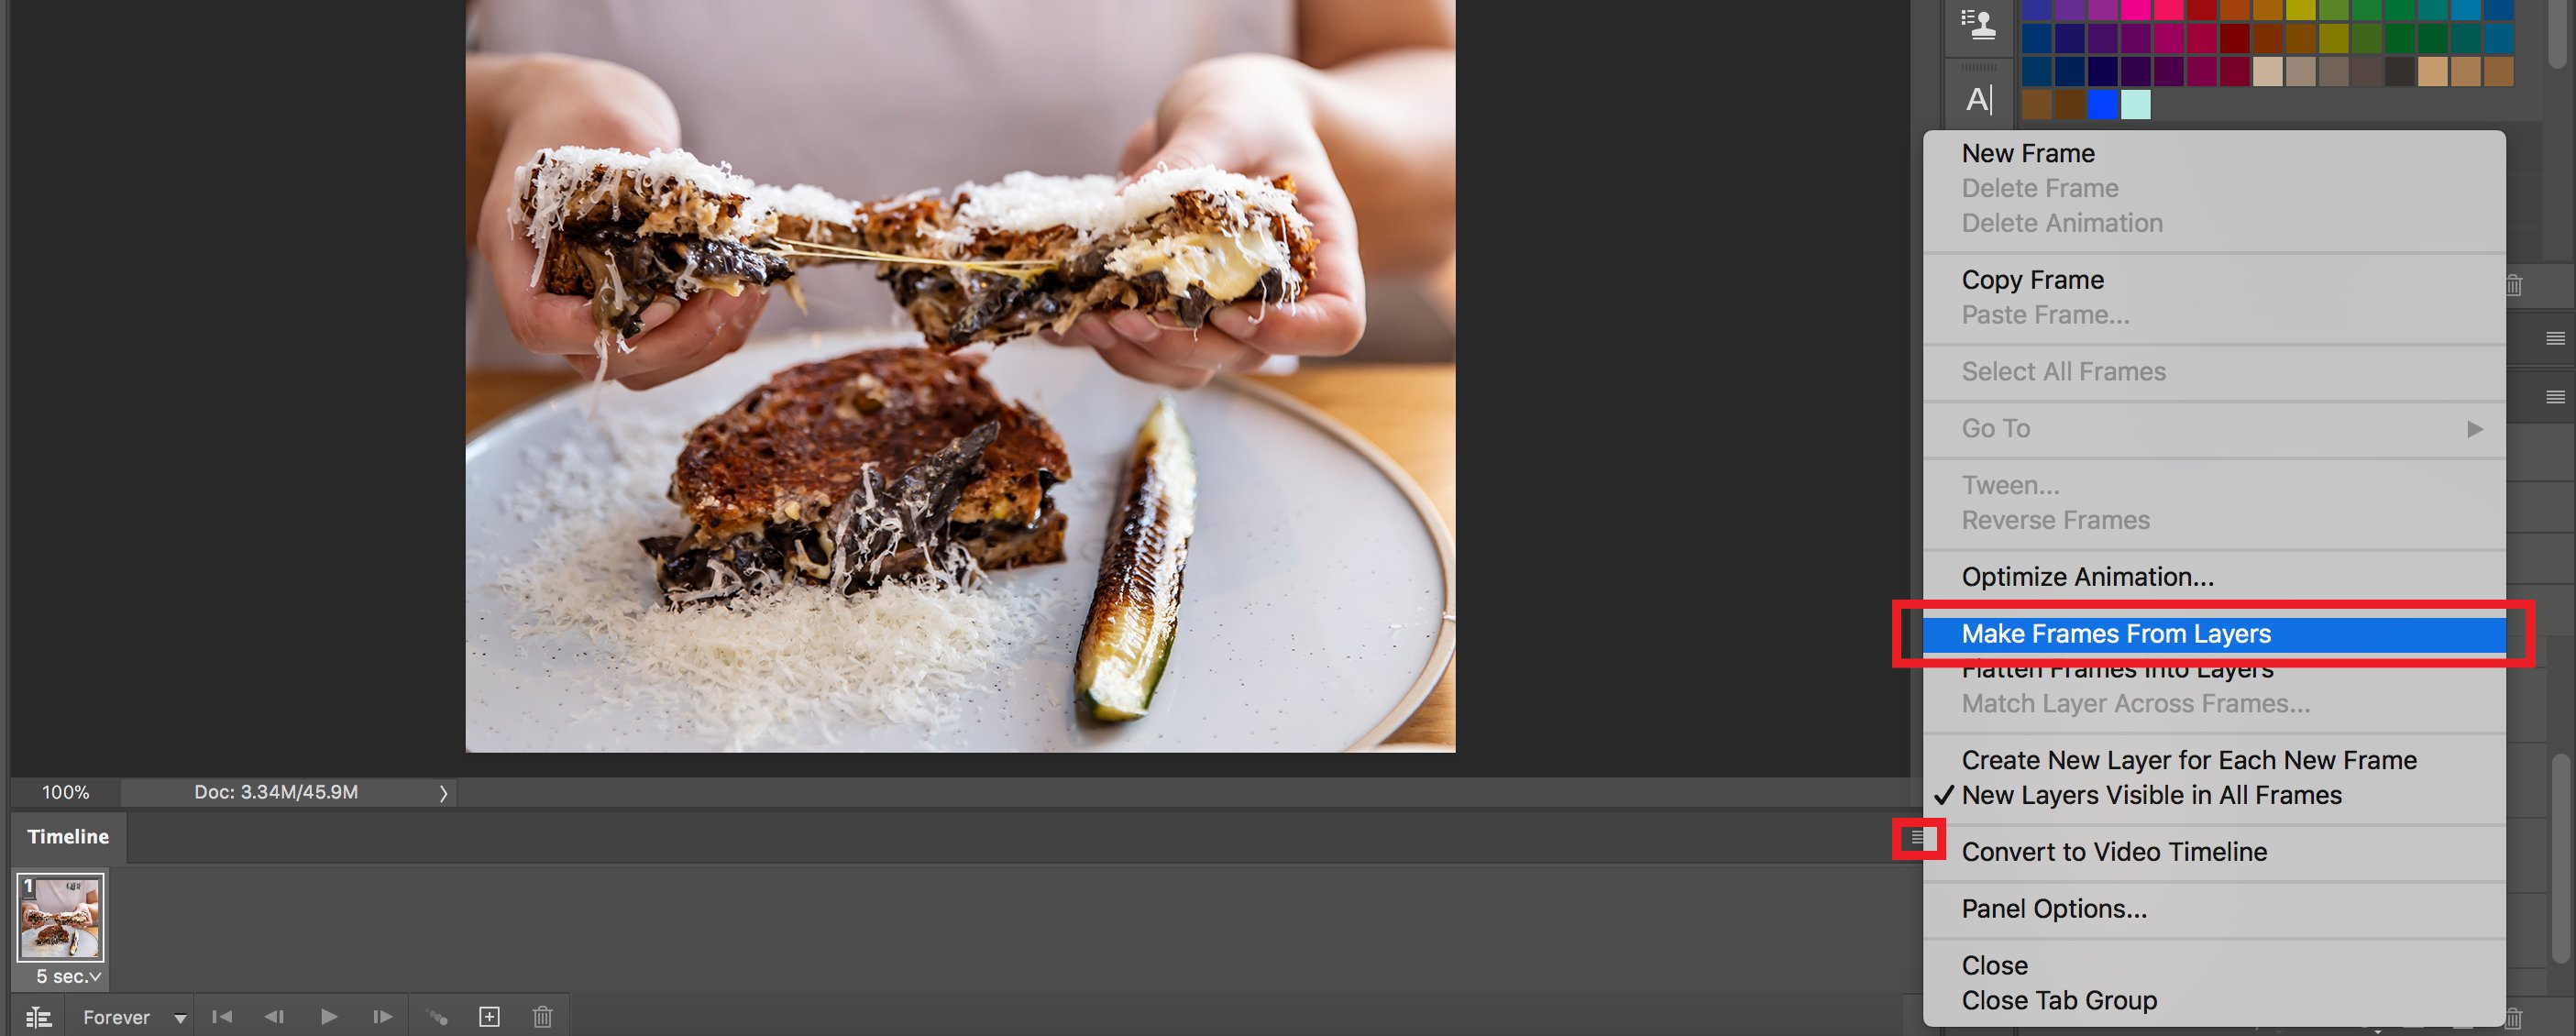
3. Convert layers into an animation sequence using the Timeline window
Using the toolbar, navigate to Window > Timeline to open the Timeline window. Click 'Create Video Timeline', and then the button in the bottom-left corner with the three squares.

From here, it's time to convert your layers into a sequence. Click the button to the top-right of the Timeline window with the three lines to bring up a menu, where you can then click 'Make Frames From Layers'.
4. Preview and adjust your animation
Your layers should now be visible in the Timeline window. You can then change the order of your sequence, as well as the timing of each frame. Highlighting all frames at once allows you to set the same speed each frame. Press the play button to see your animation in action.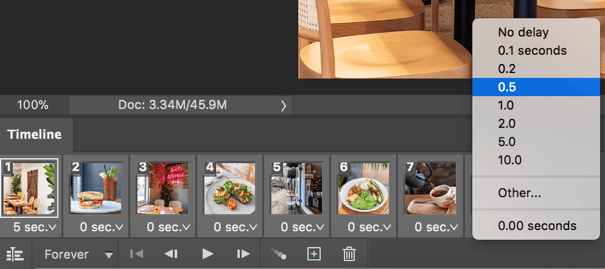
5. Ready to Export
Once you are happy with your animation, you can either export it as a mp4 video or GIF.
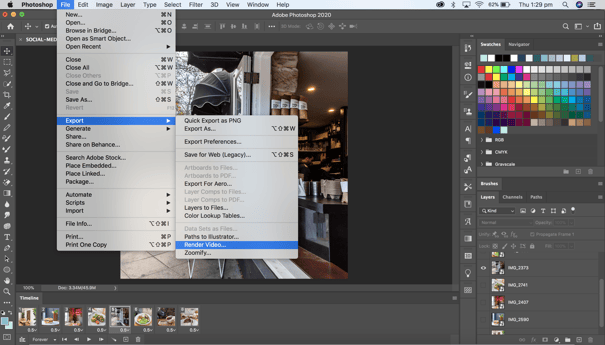
For mp4:
Navigate to File > Export > Render Video to save your animation. This format works best for uploading to social media as a post or story.
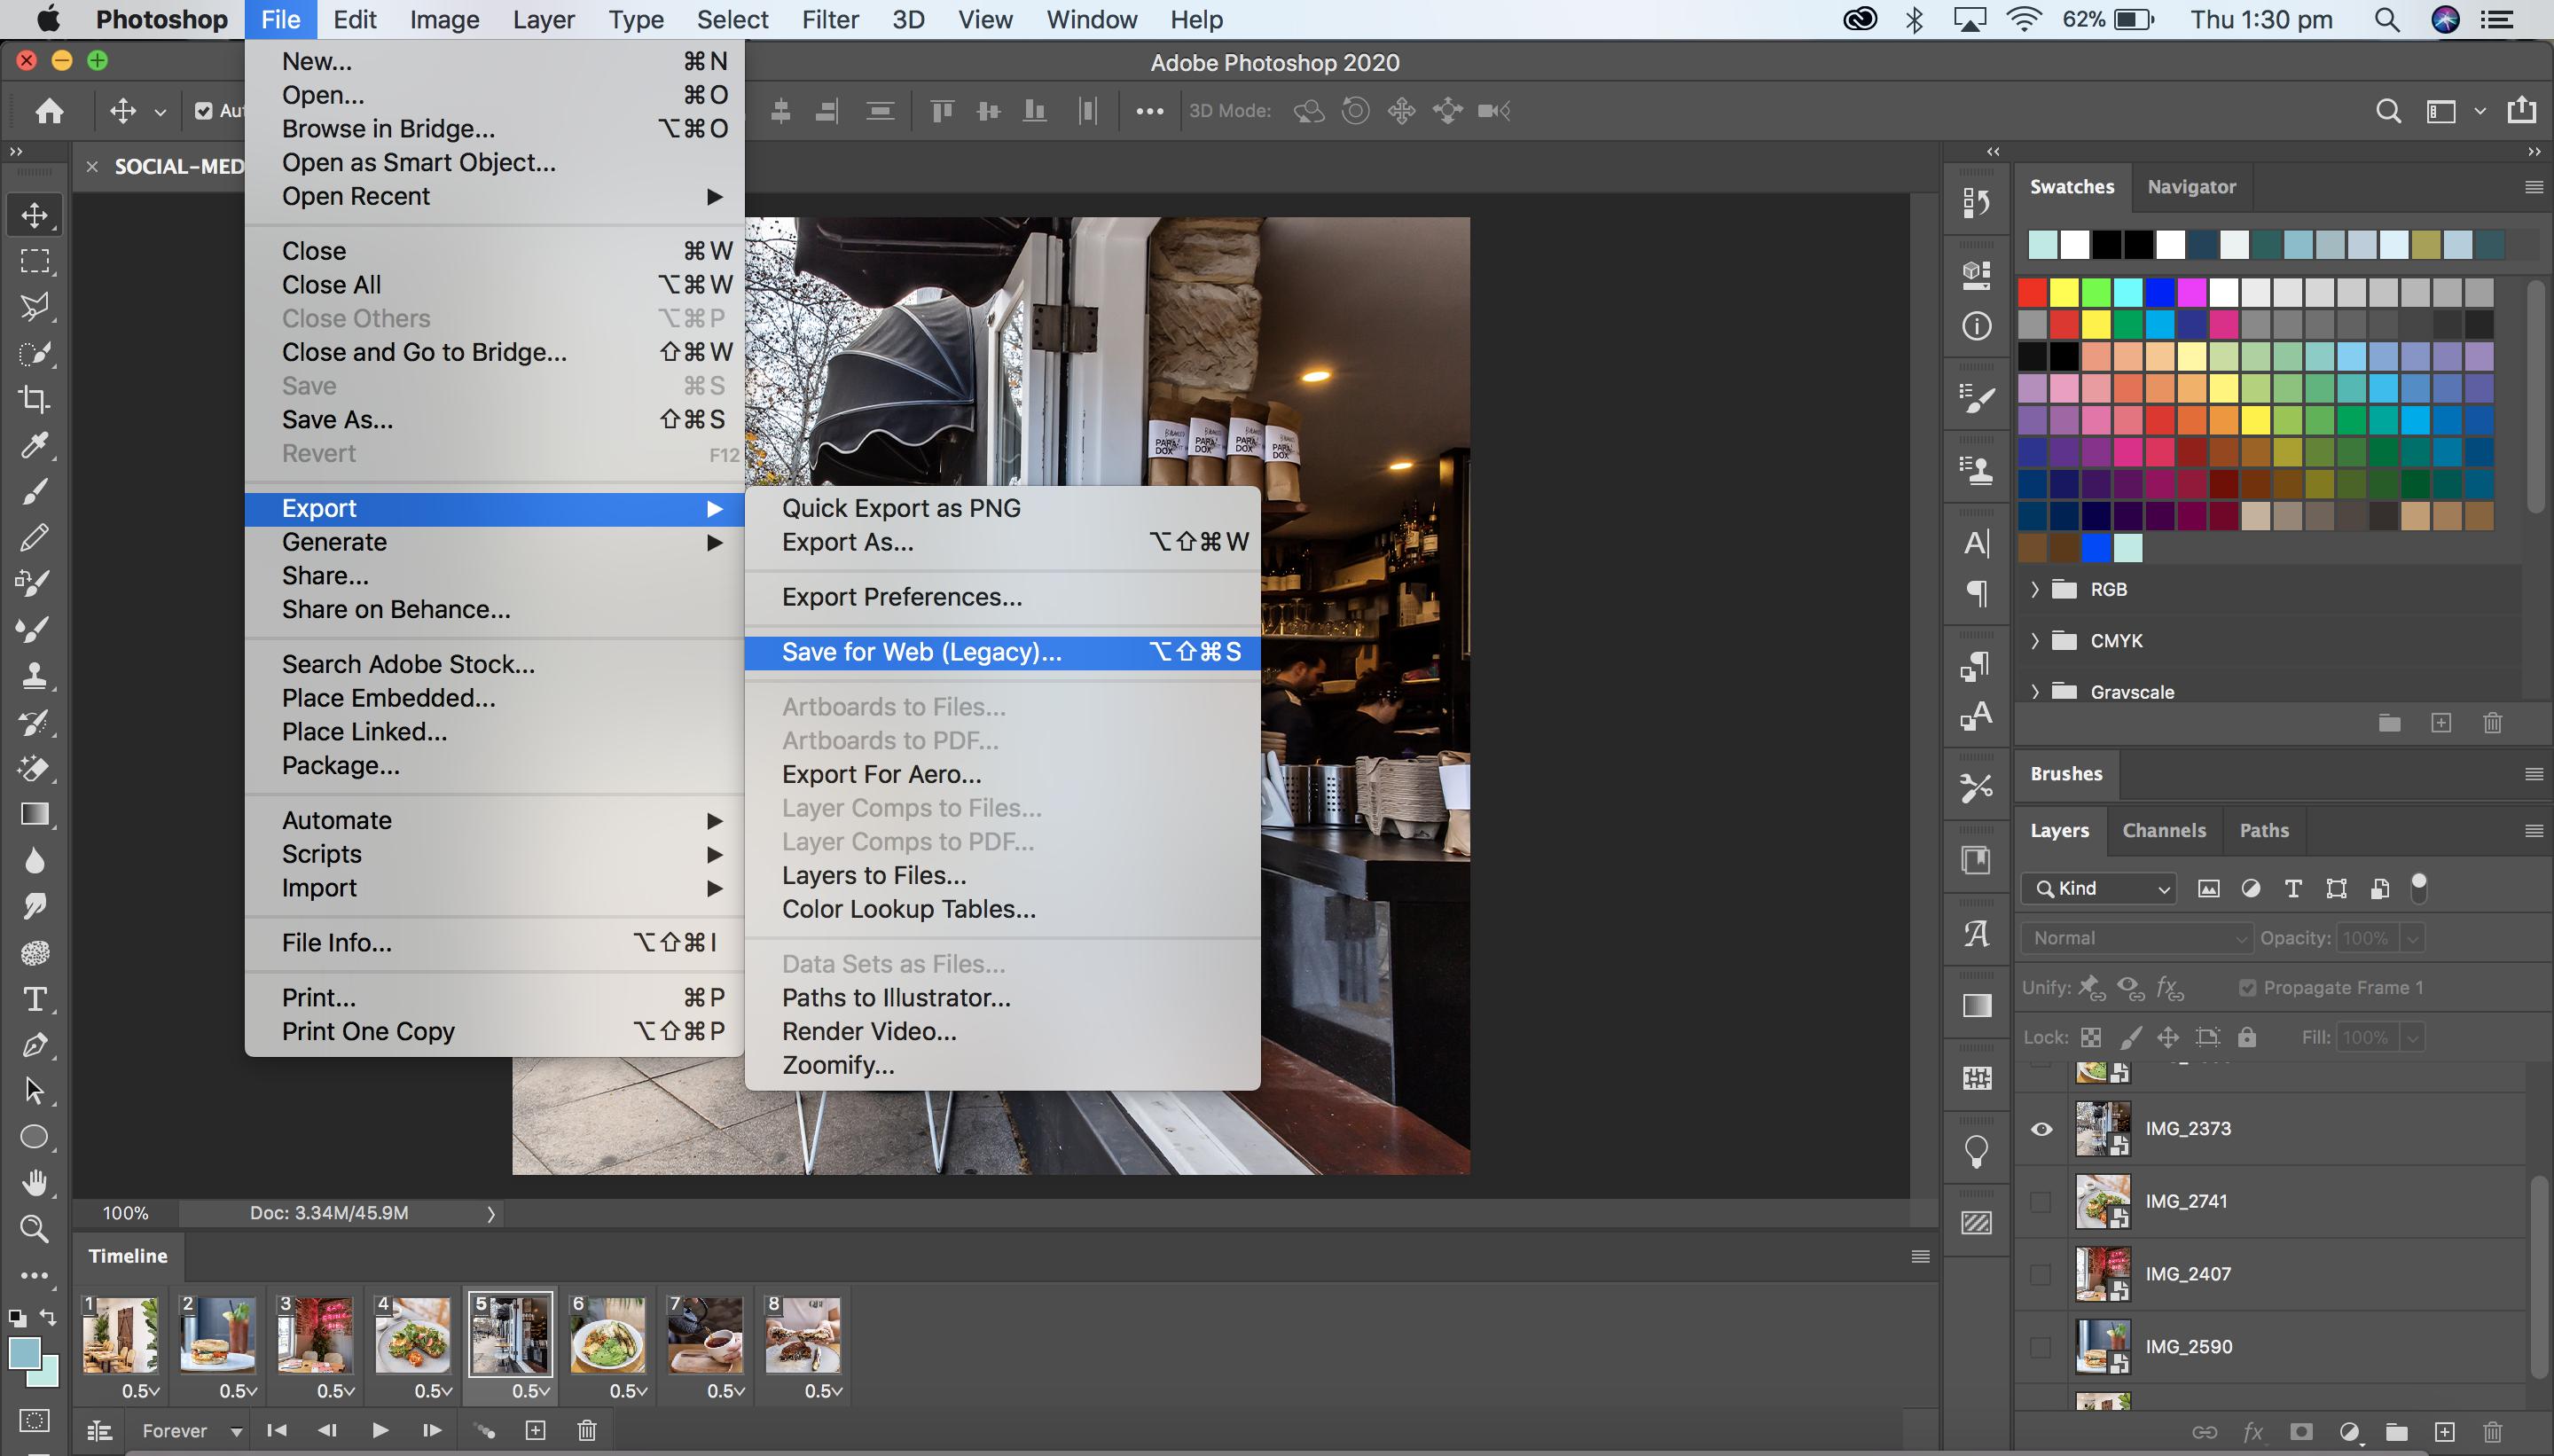
For GIF:
Navigate to File > Export > Save for Web (Legacy), and change the output to GIF. This format works best when uploading to websites.

6. Upload your finished product
Whatever purpose your animation serves, rest assured it will be much more eye-catching than a static image. Admire your hard work, and share it around!
Animation featuring photography by Sydney Design Social for Quick Brown Fox Eatery
Looking for more graphic design tips? Subscribe to our blog below!